How to Build an AI-Powered Video Production Pipeline for a SaaS Platform
Building a video generation feature sounds simple at first. A user enters a script, clicks a button, and expects a finished video.
In reality, there are several separate jobs happening behind the scenes. The application needs to generate audio, create or collect visual assets, produce subtitles, assemble everything in the right order, process the files, and finally make the finished video available to the user.
For a SaaS product, the bigger challenge is making this process reliable when hundreds or thousands of users are doing it at the same time.
A good approach is to treat video generation as a pipeline instead of one large process.
Start With a Pipeline, Not One Large API Request
A common mistake is trying to handle the entire video generation process inside a single web request.
That approach works for a small prototype, but it becomes unreliable as the product grows.
A better architecture separates the workflow into smaller jobs:
User Input → Script Processing → Voice Generation → Subtitle Generation → Visual Processing → Video Assembly → Quality Check → Final Export
Each stage can have its own status and error handling.
For example, if subtitle generation fails, there is no reason to generate the voiceover again. The application should simply retry the subtitle job.
This small architectural decision can save a lot of processing time and API costs.
Step 1: Store the Project Before Starting Processing
When a user clicks "Generate Video", the application should first create a project record.
A simple project might contain:
- Project ID
- User ID
- Script
- Voice settings
- Language
- Visual settings
- Subtitle settings
- Output format
- Processing status
The status could be something like:
created → processing → audio_ready → subtitles_ready → rendering → completed → failed
This is much better than relying on the browser to remember what is happening.
The user can close the browser, come back later, and still see the current project status.
It also makes it easier to build email notifications or a dashboard showing previous projects.
Step 2: Generate the Voiceover
Once the project is saved, the backend can send the script to a text-to-speech service.
The generated audio should be stored separately from the project record. The database only needs to keep the file location and metadata.
For example, a project folder could contain the script, voiceover, subtitles, preview video, and final video.
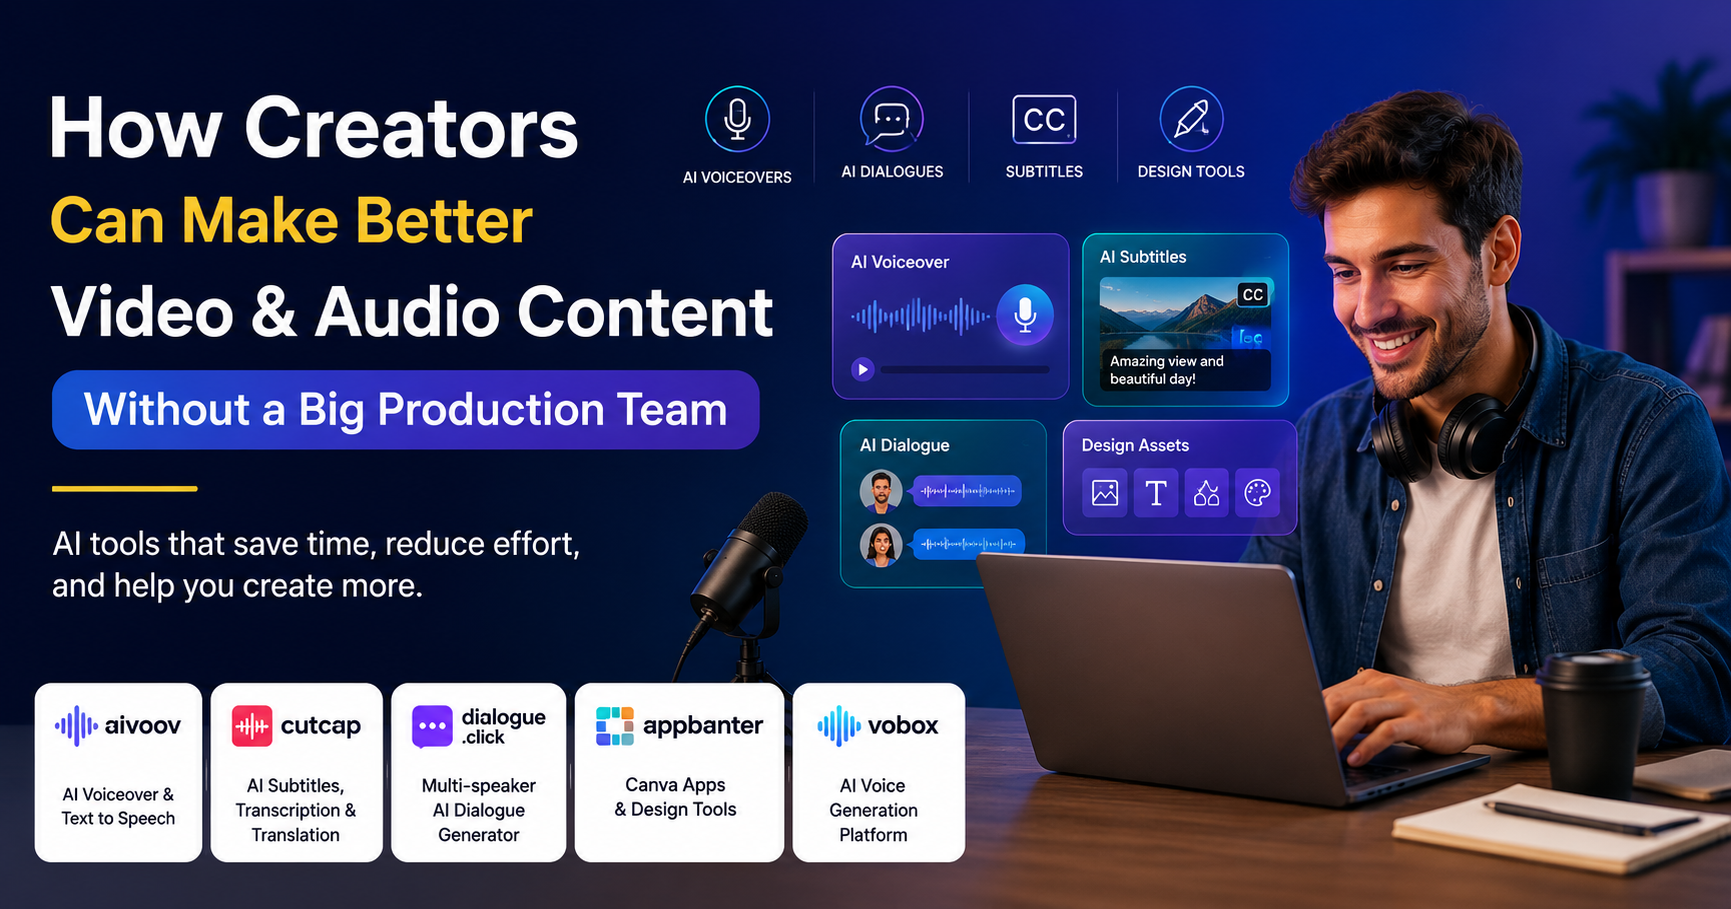
A service such as AI voiceover can be used for the text-to-speech stage.
The important part from an engineering perspective is to avoid blocking the main application while the audio is being generated.
The request should create a background job and return a project ID to the user.
Use a Queue for Long-Running Jobs
Video processing can take seconds or several minutes. It should not run directly inside the normal web request.
A queue-based architecture is much more reliable.
A typical workflow is:
Web App → Job Queue → Worker → AI/API Service → Object Storage
Popular choices include Redis-based queues, RabbitMQ, or cloud queue services.
The web application adds a job to the queue. A worker picks it up and performs the actual processing.
This also makes horizontal scaling easier.
If video demand increases, you can add more workers instead of changing the entire application.
Step 3: Generate Subtitles From the Audio
After the voiceover is ready, the next step is transcription.
The important detail here is that subtitles should be synchronized with the actual generated audio rather than simply splitting the original script into equal time intervals.
A transcription service can return timestamps for each word or sentence.
The application can then convert those timestamps into standard subtitle formats.
For creators who need automatic captions, an AI subtitle generator can handle the transcription and subtitle side of the workflow.
The subtitle stage can also become a separate feature of the SaaS. Users may want to change fonts, colors, positions, animation styles, or subtitle languages before rendering the final video.
Step 4: Treat Visual Assets as Separate Objects
The visual part of the video should not be tightly connected to the rendering process.
Instead, create an asset list for every scene.
For example, a scene could contain a scene number, duration, background image, and text.
Another scene could contain a product screenshot, while another uses a video clip.
This approach makes the editor much easier to build because every scene becomes an independent object.
Users can replace an image without rebuilding the entire project.
It also makes templates possible.
Step 5: Support Multiple Speakers Separately
Not every video needs one narrator.
Educational videos, podcasts, advertisements, and storytelling content may have two or more speakers.
In that situation, the script can contain speaker information.
For example:
Speaker A: Welcome to the show.
Speaker B: Thanks for having me.
Speaker A: Let's talk about the new product.
The backend can convert each section into the appropriate voice and then combine the audio tracks.
A platform such as AI dialogue generation is useful when the project requires multiple speakers rather than a single narration voice.
The important architectural point is to keep speaker information in the project data rather than hard-coding voices into the final audio file.
That allows the user to change a speaker later without rebuilding unrelated parts of the project.
Step 6: Assemble the Video
Once the audio, subtitles, images, and video clips are ready, the rendering worker can assemble the final video.
A typical rendering process combines scene data, images or videos, voiceover, subtitles, and music before producing the final MP4 file.
FFmpeg is a common choice for this type of server-side processing.
For more advanced applications, a dedicated rendering service can also be used.
The renderer should receive a structured project description instead of depending on temporary files scattered across the server.
Store Large Files Outside the Database
Video files should generally not be stored directly inside a relational database.
Use object storage instead.
The database can contain project metadata, file paths, and processing status, while object storage contains audio, images, videos, subtitles, and final exports.
Services such as Amazon S3-compatible storage can handle large media files efficiently.
This also makes it easier to create temporary download links and control how long generated files remain available.
Build Retry Logic Into Every Stage
External APIs can fail.
A voice generation request may time out. A transcription service may temporarily be unavailable. A video renderer may run out of resources.
The application should expect these failures.
A simple retry strategy could be:
Attempt 1 → failed → wait
Attempt 2 → failed → wait longer
Attempt 3 → failed → mark the job as failed
The system should also store the error message.
A user should see something useful such as:
Subtitle generation failed. We are retrying.
instead of:
Something went wrong.
This becomes especially important when the application starts processing large numbers of projects.
Keep AI Costs Under Control
AI video products can become expensive very quickly.
The biggest mistake is processing the same content repeatedly.
Cache everything that can be reused.
If a user changes the subtitle color, there is no reason to generate the voiceover again.
If the user changes the thumbnail, there is no reason to transcribe the audio again.
Each stage should have its own output.
For example, if the script has not changed, the application can reuse the existing audio. If the audio has not changed, it can reuse the existing subtitles. If the audio and visuals have not changed, the system only needs to render the requested variation.
This approach can significantly reduce API usage and rendering costs.
Give Users Progress Instead of a Spinner
Long-running tasks need clear feedback.
Instead of showing only "Generating...", show the actual pipeline:
✓ Script processed
✓ Voiceover generated
✓ Subtitles generated
● Rendering video
○ Finalizing
This makes the application feel much more reliable.
It also helps users understand where the processing time is going.
For longer projects, a notification system can tell users when the final video is ready without requiring them to keep the browser open.
Keep the Architecture Modular
The biggest advantage of a pipeline architecture is that individual services can be replaced later.
You may start with one text-to-speech provider and later add another.
The same applies to transcription, image generation, storage, or rendering.
Instead of writing provider-specific logic throughout the application, create a small internal interface for tasks such as generating voice, generating transcripts, rendering video, and storing files.
The rest of the application does not need to know which provider is being used.
This makes the SaaS easier to maintain and gives you more flexibility as APIs and pricing change.
Final Thoughts
An AI video SaaS does not need to be one giant AI system.
The most practical approach is to combine several focused services into a reliable production pipeline.
The application handles the project and user experience. Background workers handle long-running tasks. AI services handle specialized jobs such as voice generation and transcription. Object storage manages large files, while a rendering engine creates the final video.
The result is a system that can start small and grow without requiring a complete rewrite.
More importantly, this architecture gives the product room to evolve. You can add new voices, languages, subtitle styles, speakers, templates, visual effects, and export formats without changing the entire workflow.
For a SaaS product, that flexibility is often more valuable than choosing the most advanced AI model available today.